Allows to export the current configuration to a file or a Cubetto server. Files are for the simple exchange of model data, whereas the Cubetto server administers the models in a Configuration Management System.
The assistant goes through several steps that can vary depending on the selected destination (file or server):
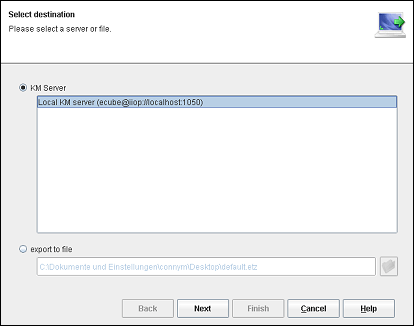
- Select destination
Select a file or server as destination for the export.
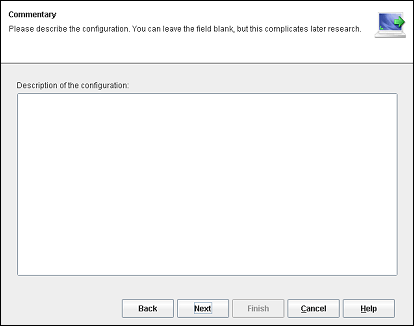
- Create comment (only when exporting to a server)
When exporting to a Cubetto server a modification comment is added to the configuration.
- Create a Template (only when exporting as template to file)
On exporting as Cubetto Model Template there will be some information added.
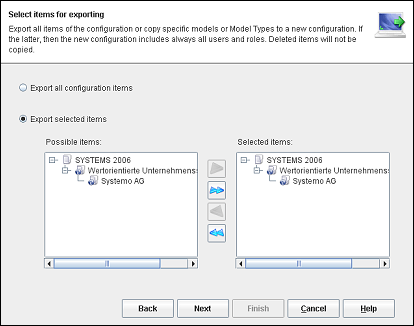
- Select the element for exporting (only when exporting to file)
Selection of the elements to be exported.
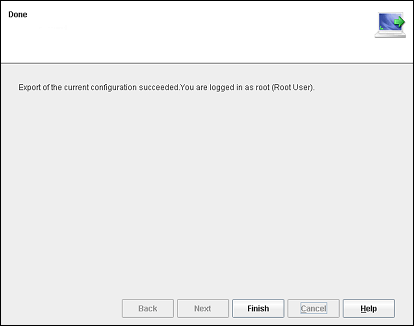
- Report
Displays a report about the success of the export.
Related help topics:
Select a file or server as destination. The following options are available:
- CM server
Please select the Cubetto server, to which the model should be exported.
After selecting click the button Continue to enter the modification comment.
- Export to a file
Please enter the path and file name of the destination for the export of the current configuration. The dialog enabling to select a file appears when clicking the button
 next to the text box. Please pay attention
to the information to the exchange via
files.
next to the text box. Please pay attention
to the information to the exchange via
files.If the specified file is a Cubetto Model Template (*.ett), click the button Continue to specify the template information. Otherwise click the button Continue to select the elements for exporting.
Related help topics:
When exporting to the Cubetto server, a modification comment is added to the configuration. This is to inform other users quickly about the modifications made to the model. The comment appears in the Model Editor in the tab Configuration.
The export will start upon selection of the button Continue.
Related help topics:
On exporting to a Cubetto Model Template there are some information added to identify this template.
- Name
Please assign a name for your template.
- Description
Please assign a short description for the content of your template.
- Language
To ensure the multilingualism of Cubetto Toolset you can assign name and description in different languages. With the selection box you can switch between your specifications in certain languages.
- Author
You can name yourself as the author of this template. This specification is optional.
To allow other users of your template to get in contact with you because of demands and/or suggestions you can name your e-Mail address. This specification is optional.
- Icon
Choose any appropriate graphic as icon for your template. This will be used later on a dialog for loading a template. The dialog enabling to select an image appears when clicking the button
next to the text box. The
use of an icon is optional.
After entering all the information, click the button Continue to select the elements for exporting.

Selection of the elements, which are meant to be exported (only in the case of the export to a file). You can either export all elements or solely the selected ones:
- Export all elements of the configuration
Writes the whole current configuration in the selected file.
This is the standard option in Cubetto Toolset.
- Export selected elements
Creates a new configuration containing the selected elements and writes it in a file. Deleted elements from the current configuration are not transferred. That is why even when selecting all elements, the files created are smaller than the original. Please note however that at a later import information about the deleted elements can be missing when merging configurations.
Use this option only when configurations are not meant to be merged.
The export starts when the button Continue is pressed and a report is sent when it is finished.
Related help topics:
Generates a report about the outcome of the export. If errors have occurred, you can launch the export again by pressing the button Back. If the export was successful, please close the dialog by pressing Complete.